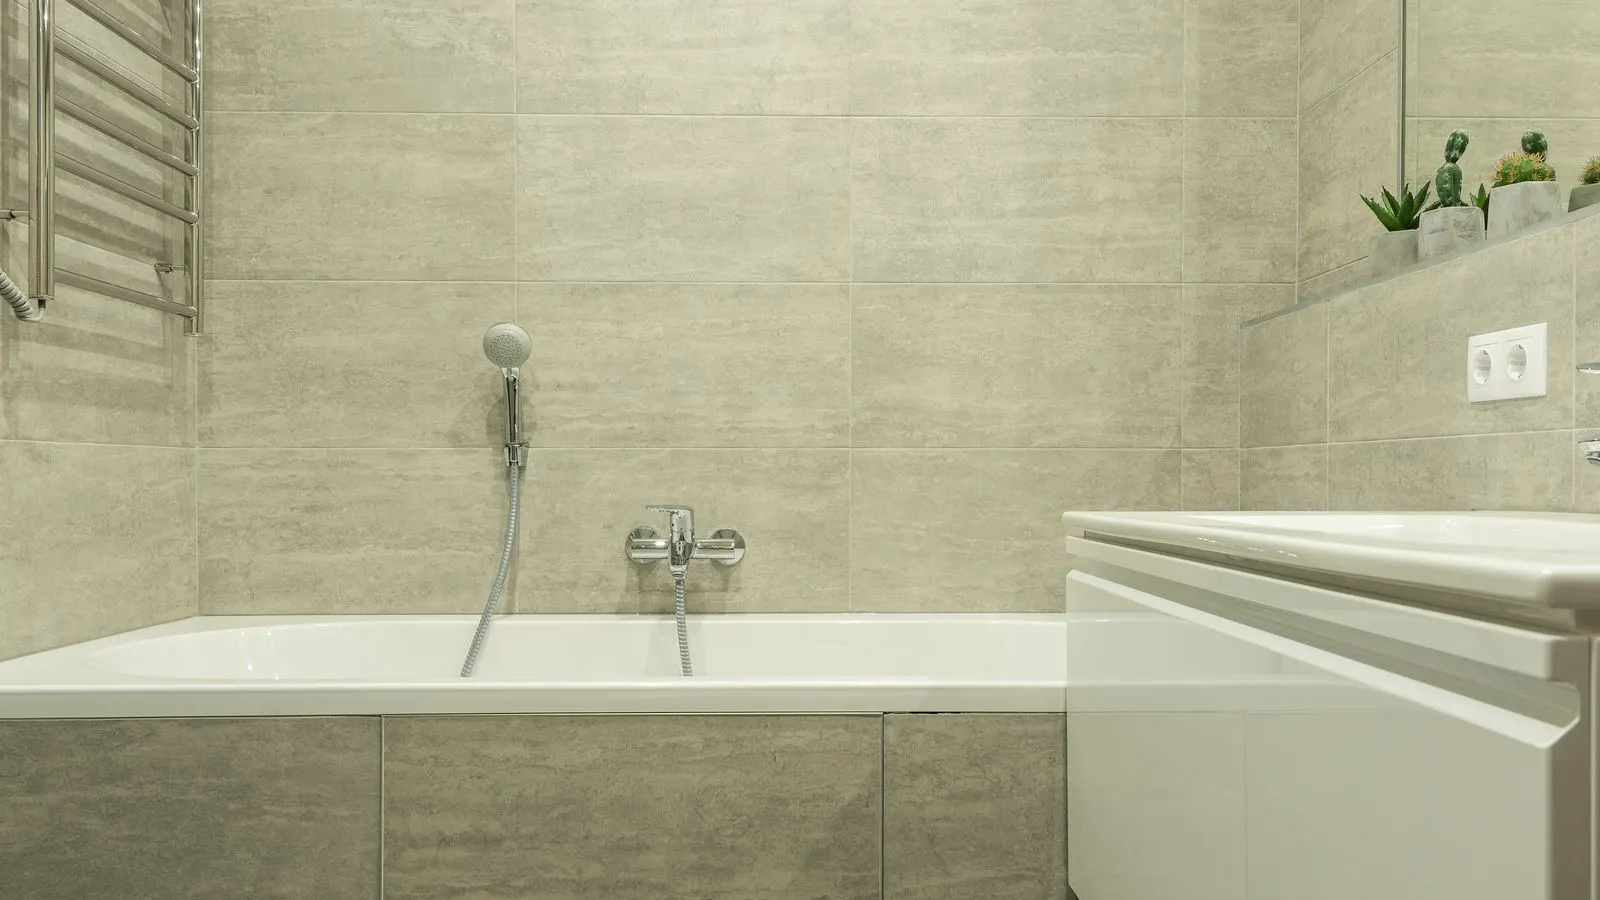
How to Plan Large Format Slab Layouts for Minimal Waste
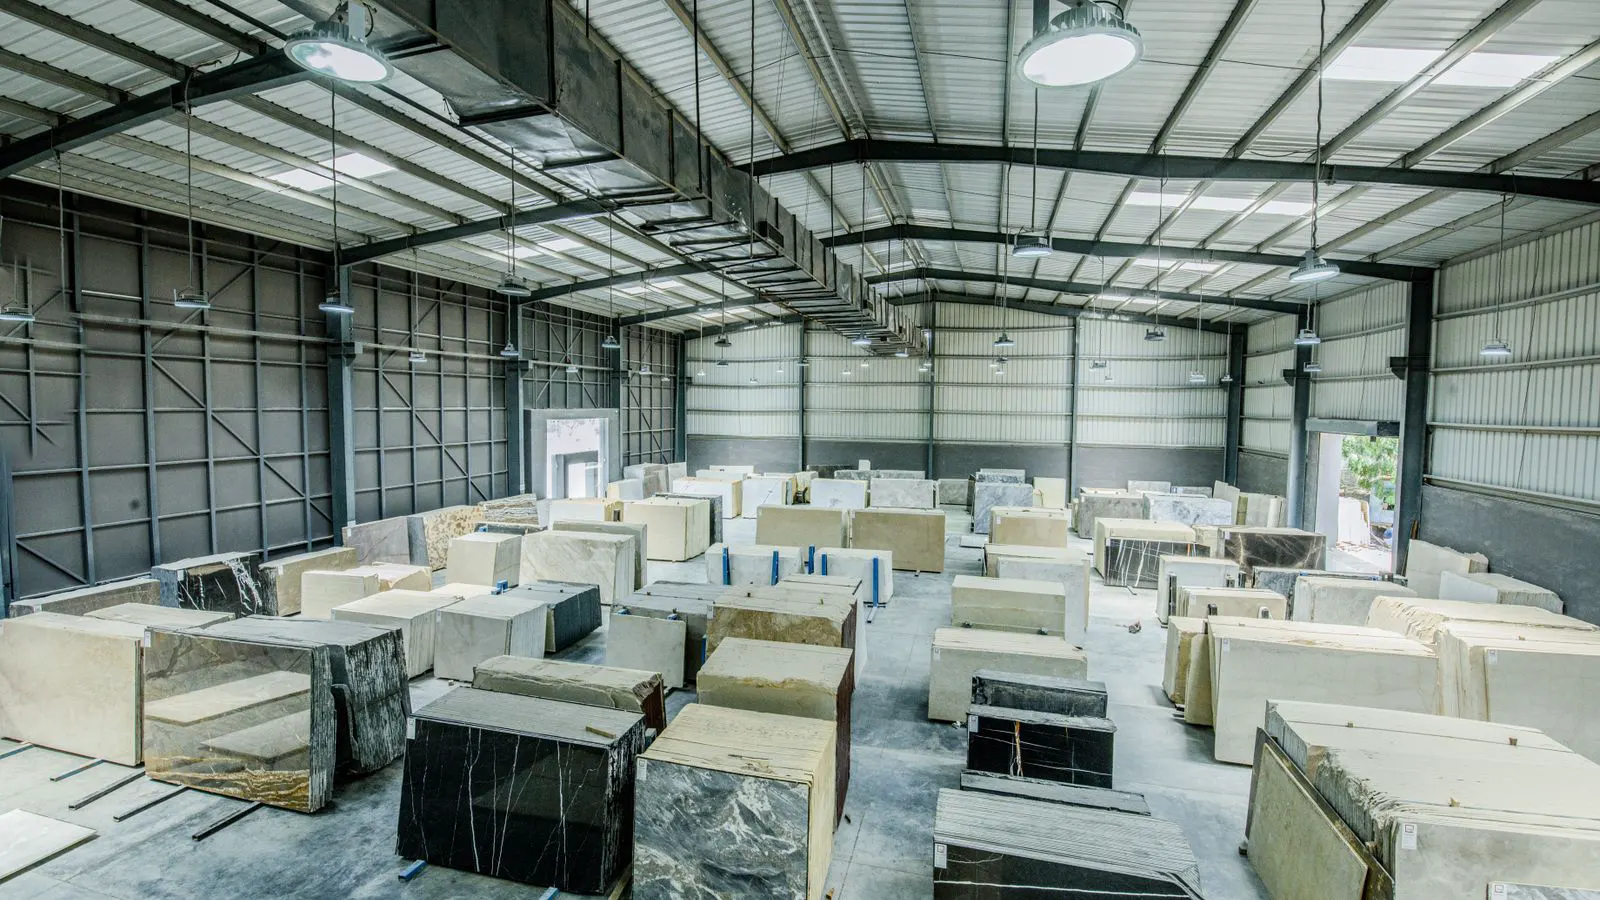
A large format slab layout plan reduces offcuts by mapping room dimensions, accounting for borders, and aligning cuts. Proper planning minimizes material loss and ensures a professional finish for commercial and residential projects.
- Measure the room and slab dimensions precisely before ordering material.
- Map the layout on paper or digital software to identify where cuts will occur.
- Align the layout with the strongest visual lines to hide minor variations in slabs.
- Group slabs by batch to maintain color consistency across the final installation.
- Verify the plan against the actual room before cutting a single slab.
Why Slab Waste Occurs in Large Format Installations
Large format slabs present a different challenge than standard ceramic tiles. The size of the piece reduces the number of cuts needed per square meter, but each cut that does happen removes a significant amount of material. When a slab is cut for a doorway, a column, or a room boundary, the offcut is rarely usable elsewhere. This makes the initial layout decision the most critical phase of the project.
The goal is not to install zero waste. Waste is inherent in geometry. The goal is to position the slabs so that the unavoidable offcuts are small, grouped, and positioned where they will not affect the visual quality of the finish. A well-planned layout ensures that the largest slabs are used in the most visible areas and that the smallest offcuts are placed in less critical zones.
Prerequisites for an Accurate Layout Plan
Before you begin mapping, you need three things. You need the exact dimensions of the room, including any irregularities. You need the exact dimensions of the slabs you are installing, not just the nominal size. You need a clear understanding of the room’s traffic flow and focal points.
Measure the room with a laser measure or a high-precision tape. Record every wall length, every corner angle, and every protrusion. A wall that is not perfectly square by even a few millimeters can throw off a layout. If the room has a column, a window recess, or a change in level, mark these on your plan.
Check the slab dimensions on the packaging or the mill certificate. Large format slabs often have tolerances. A slab marked as 2000 millimeters may measure 1998 or 2002 millimeters. Averaging is useful for ordering, but individual measurement is necessary for the layout.
Step 1: Establish the Focal Point
Start the layout from the area that will be most visible. For a living room, this is often the center of the main wall or the area facing the entrance. For a kitchen, it is the area opposite the main work zone. For a commercial space, it is the main walkway.
Placing the focal point at the center of the largest slab ensures that no cut line runs through the most important visual area. This step prevents the common mistake of having a narrow strip of tile or a cut piece in the middle of a room. It also helps hide minor variations in color or texture, as the largest, uncut slab is placed where the eye naturally rests.
Step 2: Map the Grid
Transfer the room dimensions to graph paper or a layout software. Draw the walls to scale. Then, draw the slab dimensions across the room. The standard approach is to run the slabs parallel to the longest wall. This is usually the most efficient orientation, but it is not always the only option.
In some rooms, running the slabs perpendicular to the main wall reduces waste. For example, if a room is long and narrow, running the slabs across the short dimension might allow the full length of the slab to fit without cutting. Test both orientations. Count the number of full slabs and the number of cut slabs required for each orientation. Choose the orientation that results in the fewest cuts and the smallest offcut areas.
Step 3: Account for Borders and Fixtures
Mark every fixture on your plan. This includes doors, windows, columns, plumbing stacks, and electrical outlets. Each fixture creates a cut. The layout must be adjusted so that these cuts are as small as possible.
For a column, the slab can be cut around it. This usually creates a small triangular or rectangular offcut. If the column is near the edge of the room, you can position the slab so the cut is only on one side. This saves material and reduces the number of pieces needed. For doors and windows, the layout should allow for a full slab to run up to the opening, with the cut happening at the door frame or window jamb.
Step 4: Identify Reusable Offcuts
Not all offcuts are waste. Some can be reused in other areas of the project. A long strip cut for a doorway might be reusable for a threshold or a small border. A smaller piece might be usable for a niche or a recessed area.
List every offcut you anticipate. Assign a specific use to each one. If you cannot find a use for an offcut, it becomes waste. This step forces you to be precise in your cutting plan. It also helps in estimating the amount of material you need to order. If you know you will have three small offcuts that are reusable, you can order slightly less material than a simple square meter calculation would suggest.
Step 5: Group Slabs by Batch
Large format slabs are often produced in batches. Even within the same batch, there can be slight variations in color, texture, or surface finish. To maintain a consistent look, you should group slabs by batch number.
Do not use slabs from different batches in the same room if possible. If you must, mix them carefully to distribute the variations evenly. For a high-end installation, it is better to order from a single batch, even if it means ordering more material than the theoretical minimum. The cost of extra material is usually lower than the cost of a mismatched finish.
Step 6: Verify the Plan Against the Room
Before you cut, walk the room with your plan. Hold the graph paper up to the walls. Check the alignment of your grid against the actual space. Look for any discrepancies you missed during measurement.
This step is critical. A small error in measurement can lead to a layout that does not fit. If the grid does not align with the room, you may end up with a very narrow strip along one wall. This is a sign that the focal point was chosen incorrectly or that the orientation needs to be changed. Adjust the plan until it fits the room perfectly.
Step 7: Cut and Install in Sequence
Once the plan is verified, begin the installation. Cut the slabs in the order they will be installed. This prevents confusion and reduces the risk of using the wrong piece. Start from the focal point and work outward.
Keep the offcuts on the floor as you cut them. Place them in the position where they will be used. This makes it easier to see if the cut is correct before it is installed. If a cut is wrong, you can identify it early and correct it before the slab is set.
Common Mistakes to Avoid
The most common mistake is to start cutting without a full layout. This leads to a series of small, inefficient cuts that accumulate into significant waste. Another mistake is to ignore room irregularities. A wall that is not square or a floor that is not level will cause the layout to shift.
A third mistake is to focus only on the number of slabs and not the size of the cuts. A layout with fewer cuts but larger offcuts may be more wasteful than a layout with more cuts but smaller offcuts. Always calculate the total offcut area, not just the count.
Final Verification Step
After the installation is complete, step back and look at the room from the main entrance. Check the alignment of the slabs. Look for any narrow strips or uneven cuts. Check the color consistency. If the layout looks balanced and the cuts are minimal, the plan was successful.
If you see problems, document them. This will help you improve your planning process for future projects. A large format slab layout is a skill that improves with practice. The more you plan and verify, the more efficient your installations will become.
Summary of the Process
| Step | Action | Purpose |
|---|---|---|
| 1 | Establish Focal Point | Place largest slab in most visible area |
| 2 | Map the Grid | Determine optimal orientation and count cuts |
| 3 | Account for Fixtures | Minimize cuts around doors, windows, columns |
| 4 | Identify Reusable Offcuts | Reduce waste by assigning uses to cut pieces |
| 5 | Group Slabs by Batch | Ensure color and texture consistency |
| 6 | Verify Plan | Check alignment against actual room dimensions |
| 7 | Cut and Install in Sequence | Execute layout accurately and reduce confusion |
Frequently asked questions
How do I measure a room for a slab layout?
Use a laser measure to get accurate wall lengths and corner angles. Mark all fixtures like doors, windows, and columns on your plan.
Can I use a standard tile layout plan for slabs?
No. Slabs are larger and have different tolerances. A standard tile plan will not account for the size of the cuts or the visual impact of the layout.
What is the best orientation for slab layout?
Usually, running slabs parallel to the longest wall is the most efficient. However, test both orientations to see which produces fewer cuts and smaller offcuts.
How do I handle a room that is not square?
Adjust the layout to fit the actual shape. You may need to shift the grid or change the focal point to avoid narrow strips along the walls.
Do I need special tools to cut slabs?
Yes. Large format slabs require a wet saw with a diamond blade or a professional cutting service. Hand tools are not safe or effective for this material.